Showing posts with label RAMDOM much ?!. Show all posts

Hello Peeps (: 


Do you have any insurance from AIA?

If the Answer is yes, you are in luck !!! 

Introducing AIA Vitality !

Benefit No.1 :

$3 OFF GV Movie Ticket  !

Each member can buy up to 2 discounted tickets per week at the following prices:

        1. S$5.50 (Monday - Wednesday)
        2. S$6.50 (Thursday/First week titles/Sneaks)
        3. S$9.50 (Friday - Sunday including Eve of and on Public Holidays)


Benefit No.2 :


Get Rewarded with $5 Every Week !


Get Active, Get Rewarded !

Earn S$5 worth of Rewards when you achieve 250 AIA Vitality Points every week! Whether it s running, walking or clocking a workout, your activity goes towards reaching your weekly target and rewards you for your efforts.


Benefit No.3 :


Get discount on Sportswear !

Benefit No.4 :


Get discount when you travel !


For all the above benefits @ $3/month, why not be a part?

Click link to sign up now ! (: 

Love,
Yin Zhen <3


Hello dear Humans (: !

Today we tried out the Cielo | Milky Hair Series in Shade 4MP 
Here is our review, hope you enjoy !

Items included in the box 


For short hair length like my mum, half solution from No.1 tube and No.2 clear bottle will be sufficient. 
Squeeze half of the No.1 tube into the No.2 bottle and shake well !! 
~Remember to use the bottle cap instead of the comb shape cover when shaking.~
 

Before we start, 2 photo of my beautiful mum with some white strands of hair. 
 

Happy Mood On :D
 

The ready mix solution of No.1 & No.2 
 

Just squeeze and the liquid will spread evenly throughout the comb.

 Here we go (:
 

The smell was much better than the Cielo Hair Cream, we left it for about 20 min and Tadaaa, end product, a satisfied dark brown hair mum(:


Another closer look..
 

End of the Cielo | Milky | 4Mp post 
Hope you enjoy ! 
 
Love,
Yin Zhen <3


Hello people (:

Yesterday was the day that i pluck out 4 of my wisdom :D 


My tooth did not grow out as pretty as I may like and all 4 of them were slanted and pushing the back of my teeth .  

Ma and Han went to the hospital with me at 8am the earliest appointment that i could made. The operation was at 8.30am and i was brought to the resting room at around 8.10am.

They went through with us the procedure and the risk that comes along with the operation.

 After that a set of robe was given after the briefing for me to change into and be prepared for it :D

I was push in to the operation theatre at 8.30am. There was at least 6 person in the room and it was really busy. I wasn't inject with any anaesthetic by then only till i was rested on the operation table.

A anaesthetists was injecting me with the anaesthetic while another nurse was asking for my details so it was pretty busy and I didn't feel much pain while he was poking the needle. ( I cried almost every time when the doctor take a blood sample) So i am pretty proud of myself.

I heard a voice that says the operation is over and when i woke up Han was sitting beside me already (: 


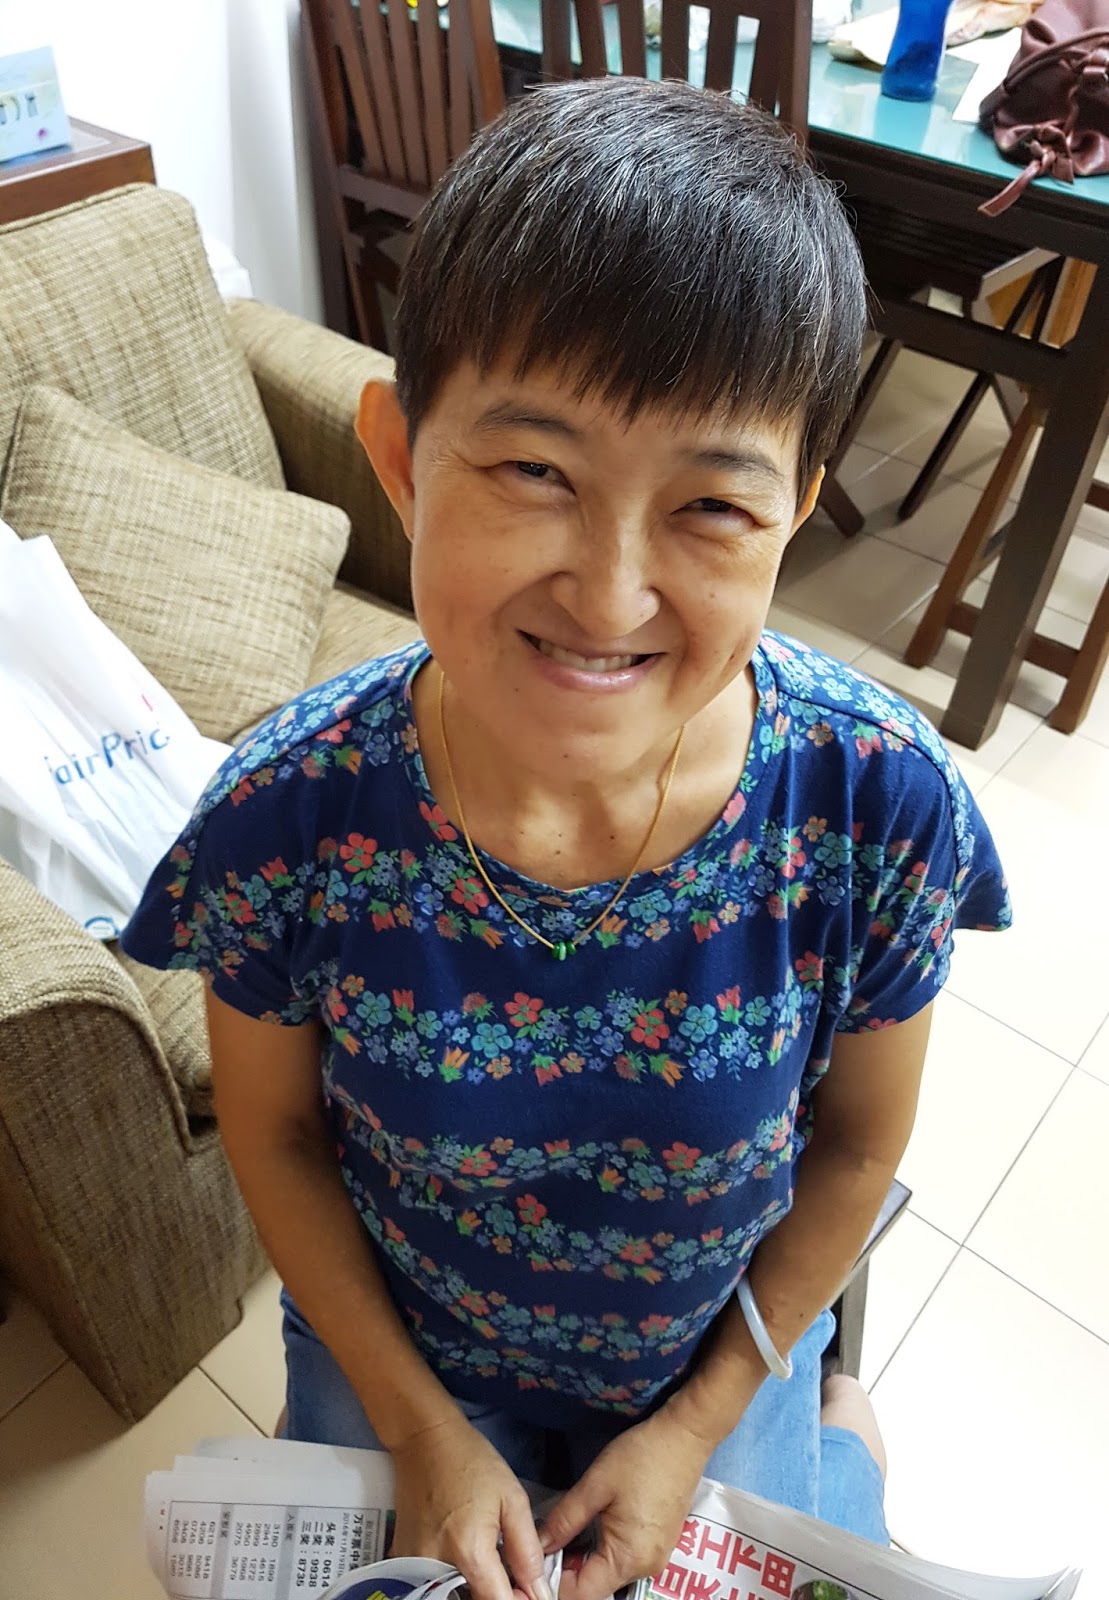
It was around 9.45am and i was suppose to stay there for another 2hour for them to observe the blood pressure and bleeding. Here is a photo before and after.


At around 11.30am i was prescribed with the medication and was allowed to change back into my normal clothing. I was really hungry and mum cooked plain porridge for me together with pickled vege. 

things to note : 

1) Remember to eat your food only when its cold ! 

2) Though you are really hungry, try to keep to porridge (soft food) for the first two days 
(Prevent Rice, Peanuts, Seeds Popcorn and other similar food) as they lodged onto the surgery area easily. 

3) Rmb to have your prescribed painkiller & antibiotic pill on time

4) I gargle with salt water as and when 

5) Try to avoid strenuous activities to prevent unnecessary bleeding.    

6) I bite on my gauze for the first 1.5 days to stop the bleeding.
(Rmb to remove when eating/ sleeping and change every half an hour)

7) You can Brush your teeth with baby toothbrush :D
(I started to brush my teeth at the night of the surgery itself)

8) REST Well (: 

Face for my third day of the surgery, still swollen but I am feeling pretty alright (: 


Approximate Cost | 

1. If you walk in as a private patient without any recommendation from polyclinic | $3000+ 

2. With a recommendation from polyclinic for dental surgery | $1800+ 

3. If you are rich and wants a shorter waiting time you can just register as a private (: 


Thanks to the expert hands and care from my mum and the experienced doctors and nurse from 
Khoo Teck Puat Hospital !  

Love, 
Yin Zhen


After reading through reviews of Cielo | Cream Hair Color 


I decided to buy it for my mum,

and so here is the review for it (: 

Hope you find it useful

The colour I chose in case you miss it ,

~ 5p Dark Brown ~

Let's start the hair dye process now :D

This is how the packaging look like... 


Not sure what are the flaps for since there are no instruction for it 


All in the box...


Including a pair of gloves line inside the full japanese instruction booklet


You are suppose to press the top part of the cover
(where I am holding to release the cap for washing)


something like this (:


for short hair people like my mum you can keep this bottle and do it 
for another time hence cleaning the nozzle is important to make sure
the cream does not block the way for the next use 


This is supposedly teaching you how to align the cream on the comb vertically


Please don't forget to do a 5 min testing on your hand,
 especially for those with skin sensitive people ! 


Best friend to do a protective coverage to your skin around your hairline (:


This is her current hair quality with strands of white hair lying around


Tried to apply the cream using the back of the comb, the smell was a tiny bit unbearing 
but overall it was smooth 


After 15min ;D No more white strands of hair for now (:


Happy mum <3

Hope that it's useful for you if you want to try it out

See you soon pretty people xD

End of post #100

Love,
Yin Zhen <3

Some recipe that I might be able to cook... I will Try :D 

CREAMY CAPRESE PASTA
 

PREP TIME
COOK TIME
TOTAL TIME
 
Creamy pasta loaded with tomato and cheese flavors. No cream is used in the recipe. Milk and cheese give the creaminess to the pasta.
Serves: 6
INGREDIENTS
  • 1 lb pipe rigate pasta
  • 1 teaspoon salt
  • 2 tablespoons olive oil
  • ½ tablespoon butter
  • 1 cup grape tomatoes, halved
  • 1 tablespoon tomato paste
  • ¼ cup milk
  • 3 ounces mini mozzarella balls
  • A few fresh basil leaves
  • A few fresh mint leaves
INSTRUCTIONS
  1. Cook pasta according to the package in a pot of salted water. When it’s completely cooked, drain leaving a little water in the pot.
  2. Heat olive oil in a large pan over medium heat. Saute halved grape tomatoes and tomato paste in it.
  3. Pour milk in it and stir.
  4. Transfer the pasta into the pan with that little juice and stir.
  5. Add in mozzarella balls and butter and cover the pan. Let them melt in the pan for about 2 minutes. Finally toss in the basil leaves and stir to combine them all well.
  6. Garnish with fresh mint leaves and serve hot or warm.


Recipe From : http://www.giverecipe.com/creamy-caprese-pasta.html


CREAMY MUSHROOM PASTA

 
PREP TIME
COOK TIME
TOTAL TIME
 
Fast and easy pasta with a creamy mushroom sauce.
Serves: 4
INGREDIENTS
  • 2 tablespoons olive oil
  • 1 large onion, roughly chopped
  • 2 cloves garlic, chopped
  • 20 small mushrooms, sliced
  • ½ teaspoon salt
  • ⅔ cup heavy cream
  • 8 oz pasta
  • ½ cup goat cheese, crumbled
  • ½ cup milk
  • ¼ teaspoon ground black pepper
  • 2 tablespoon parsley, chopped
INSTRUCTIONS
  1. Heat olive oil on high heat and sautee chopped onion and garlic over medium high heat.
  2. Add in sliced mushrooms when the onion is golden, stir.
  3. Sprinkle salt and cook it over medium high heat until almost all the juice is gone. Leave about 2 tablespoons of juice in the skillet.
  4. Pour heavy cream, stir well and cook for about 5 minutes over low heat. Set aside.
  5. Cook pasta according to the package instructions. Drain.
  6. Put the skillet back on the stove over medium high heat.
  7. Transfer pasta into the skillet with the creamy mushroom sauce.
  8. Add crumbled goat cheese and milk. Mix well and cook about 5-10 minutes over low heat until the sauce coats all the pasta.
  9. Sprinkle black pepper and mix.
  10. Toss in parsley and serve warm.

Recipe From : http://www.giverecipe.com


CHEESY CAULIFLOWER BREADSTICKS

 
PREP TIME
COOK TIME
TOTAL TIME
 
Author: 
Serves: 8
INGREDIENTS
  • 4 cups of riced cauliflower (about 1 large head of cauliflower)
  • 4 eggs
  • 2 cups of mozzarella cheese (I used a Tex Mex blend because that's all I had)
  • 3 tsp oregano
  • 4 cloves garlic, minced
  • salt and pepper to taste
  • 1 to 2 cups mozzarella cheese (for topping)
INSTRUCTIONS
  1. Preheat oven to 425 F degrees. Prepare 2 pizza dishes or a large baking sheet with parchment paper.
  2. Make sure your cauliflower is roughly chopped in florets. Add the florets to your food processor and pulse until cauliflower resembles rice.
  3. Place the cauliflower in a microwavable container and cover with lid. Microwave for 10 minutes. Place the microwaved cauliflower in a large bowl and add the 4 eggs, 2 cups of mozzarella,oregano, garlic and salt and pepper. Mix everything together.
  4. Separate the mixture in half and place each half onto the prepared baking sheets and shape into either a pizza crust, or a rectangular shape for the breadsticks.
  5. Bake the crust (no topping yet) for about 25 minutes or until nice and golden. Don't be afraid the crust is not soggy at all. Once golden, sprinkle with remaining mozzarella cheese and put back in the oven for another 5 minutes or until cheese has melted.
  6. Slice and serve.
NOTe
Nutritional information based on 1 cup mozzarella cheese for topping. CalorieCount is used for determining nutritional information. Recipe adapted from Mom, What's for Dinner?

Recipe From : http://www.jocooks.com/healthy-eating/cheesy-cauliflower-breadsticks/


  SLOW COOKER MACARONI AND CHEESE

yield: 6 to 8 servings
 
prep time: 20 minutes
 
cook time: 2 to 3 hours
 
total time: 3 hours 30 minutes
Quite possibly the easiest macaroni and cheese you'll ever make!

INGREDIENTS:

12 ounces uncooked elbow macaroni
4 tablespoons butter, cut into cubes
1 can (12 ounces) evaporated milk
1½ cups half & half
3 cups (12 ounces) shredded sharp cheddar cheese
8 ounces Velveeta cheese, cut into cubes
¼ teaspoon salt
¼ teaspoon pepper

DIRECTIONS:

1. Spray 3½ to 4-quart slow cooker with cooking spray. Cook the pasta to al dente and drain. Place the macaroni in the slow cooker, immediately add the butter and stir until melted.
2. Add the evaporated milk, half & half, 2½ cups of the cheddar cheese, the Velveeta, salt and pepper; stir to blend well.
3. Cover and cook on low for 2 to 3 hours (if you have a larger slow cooker, decrease the cooking time). During the last 15 minutes of cooking, sprinkle with the remaining ½ cup of cheddar cheese. Once done, turn the slow cooker setting to warm until ready to serve. Leftovers can be stored in an airtight container in the refrigerator for up to 4 days.
(Recipe adapted from Pillsbury)

Recipe From : http://www.browneyedbaker.com/slow-cooker-macaroni-and-cheese-recipe/

Potato Croquettes
Serves 6

Ingredients
  1. 3 large Yukon gold potatoes peeled and cut into chunks
  2. ¼ cup milk
  3. 2 tablespoons sour cream
  4. 2 tablespoons butter
  5. 1 tsp salt
  6. Pepper to taste
  7. 3 eggs
  8. 3 tablespoons flour
  9. 1 ½ cups seasoned breadcrumbs
  10. 5oz sharp aged cheddar or gruyere cut into 12 pieces
  11. Safflower Oil for frying
Instructions
  1. Steam potatoes until soft. Mash potatoes along with milk, sour cream, butter, salt, pepper, 1 egg and flour. A this point refrigerate for 1 hour to harden the mixture.
  2. Roll potato mixture into round 12 oblong cylinders and place a ½oz piece of cheese in the center by molding the potato around it. Refrigerate again for 15 min.
  3. Lightly beat eggs in a bowl and place breadcrumbs in a second bowl. Dip each cylinder in eggs and then breadcrumbs.
  4. Pour about 2 ½ inches of oil into a deep heavy pot. Heat to 365 degrees; monitor with a thermometer. Carefully place 2 potato croquettes at a time into oil and fry until deeply golden.
  5. Can be kept warm in an oven of 325 degrees until all croquettes are ready. Serve while very hot.
Notes
  1. They can be served alongside many meat dishes or alone in a smaller size and served with a variety of sauces from marinara to garlic chipotle aioli. Enjoy!

Recipe From : http://nancyscravings.com/potato-croquettes/

Here you go (: 

I will leave it here first to refer :D